
Our MicroPython project turns a strip of NeoPixel LEDs into a “ship’s lamp” style wind speed gauge. It connects to an MQTT broker to receive real-time wind speed data and translates it into a flickering, color-coded light.
The light simulates an oil lamp by staying “steady” for a random period and then “flickering” for a short time by rapidly dimming and brightening – the flicker speed changes acording to the wind speed. The full code and details are available on Github as part of the ever growing Open Gauges Project.
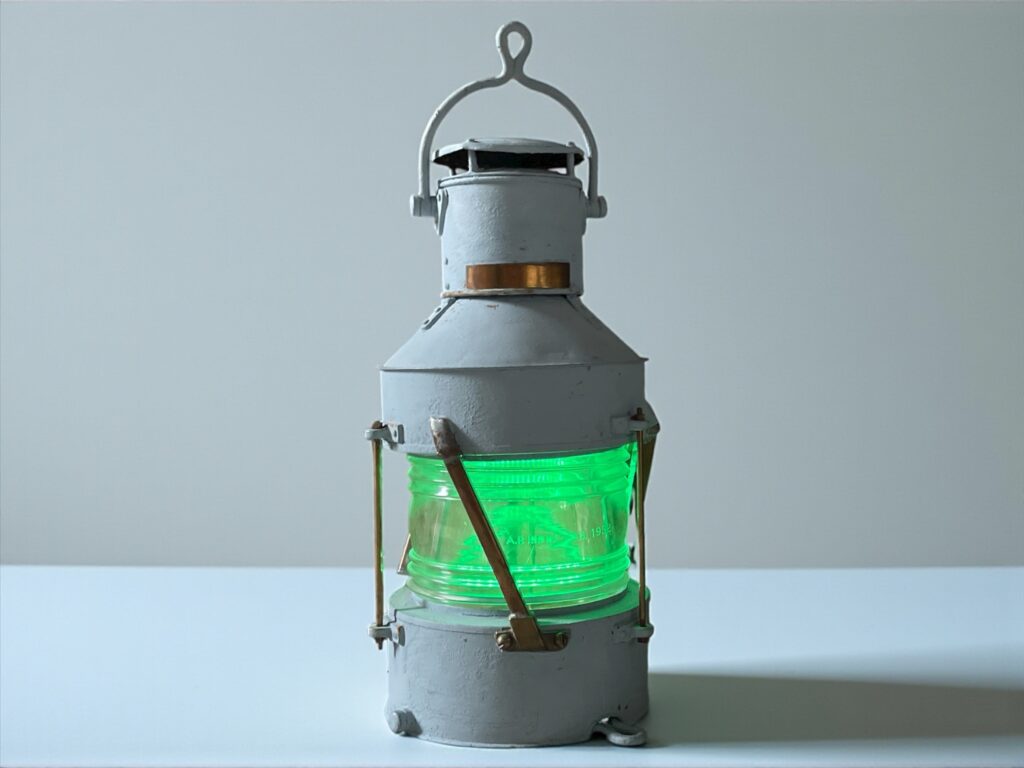
Ships Lamp
Features
- Real-time Data: Connects to an MQTT broker to subscribe to a wind speed topic.
- Weather Map Gradient: Displays wind speed using an intuitive “weather map” color gradient:
- 0 mph: Off (Black)
- 1-10 mph: Solid Green
- 10-20 mph: Fades from Green → Yellow
- 20-30 mph: Fades from Yellow → Orange
- 30-40 mph: Fades from Orange → Red
- 40+ mph: Solid Red
- Realistic Flicker Effect: The light doesn’t just stay solid; it cycles between a “steady” phase (10-60s) and a “flicker” phase (5-15s) to simulate a real lamp.
- Asynchronous & Resilient: Built using
uasyncioandmqtt_as. Themqtt_aslibrary automatically handles and recovers from WiFi or MQTT broker disconnections, re-subscribing to topics as needed. - Hardware Watchdog: Uses the Pico’s built-in
machine.WDT(Watchdog Timer) to automatically reboot the device only if the main code loop freezes, ensuring high reliability. (This replaces the old 60-minute timer). - Status LEDs: Provides a heartbeat flash on one LED and a WiFi status indicator on another.
Hardware Requirements
- Raspberry Pi Pico W: (or any Pico with a WiFi-capable board).
- NeoPixel LED Strip: The code is configured for a strip, but can be any WS812B/NeoPixel compatible LEDs.
- Power Supply: A sufficient power supply for your LED strip (a strip of 60 LEDs can draw several amps at full brightness).
- A Ships Lamp (old or new).
Default Pinout (Pico W)
- NeoPixel Data:
GP15 - Blue LED (Heartbeat):
blue_led(defined inconfig.py, often the onboard LED). - WiFi LED:
wifi_led(defined inconfig.py).
Software & Dependencies
This project relies on a few key MicroPython libraries that you must have on your Pico:
neopixel.py: The standard Adafruit NeoPixel library for MicroPython.mqtt_as.py: A robust, asynchronous MQTT client. You can find it here.config.py: A file you must create to hold your credentials and pin definitions.
Configuration
You must create a config.py file in the root of your Pico’s filesystem. This file should contain:
- Your WiFi and MQTT broker credentials.
- Definitions for your
wifi_ledandblue_led.
The mqtt_as library expects the config.py to contain a config dictionary.
Example config.py:
# config.py
from machine import Pin

# --- WiFi Configuration ---
config['wifi_led'] = Pin("WL_GPIO0", Pin.OUT) # Onboard LED on Pico W
config['ssid'] = 'YOUR_WIFI_SSID'
config['wifi_pw'] = 'YOUR_WWIFI_PASSWORD'

# --- MQTT Configuration ---
# This example is for the open broker mqtt.cetools.org
config['server'] = 'mqtt.cetools.org'
config['port'] = 1884
config['client_id'] = 'pico_ships_lamp' # Or any unique ID

# --- Optional: For Secured Brokers ---
# If your broker requires a username and password, add these lines:
# config['user'] = 'YOUR_MQTT_USER'
# config['password'] = 'YOUR_MQTT_PASSWORD'

# --- Other Hardware ---
# This is for the heartbeat LED
blue_led = Pin(10, Pin.OUT) # Example: an external LED on GP10
Running the Project
- Upload
main.py,neopixel.py,mqtt_as.py, and yourconfig.pyto your Raspberry Pi Pico. - Reset the device.
- The device will automatically connect to your WiFi and MQTT broker.
- It will subscribe to the topic
personal/ucfnaps/downhamweather/windSpeed_mph. - As messages are published to that topic, the ship’s lamp will spring to life!
Customizing
- LED Count: Change the
numpixvariable at the top ofmain.pyto match your strip. - Data Pin: Change the
15inpixels = Neopixel(numpix, 0, 15, "GRB")to match your data pin. - MQTT Topic: Change the a topic name in the
conn_hanfunction to subscribe to your own data source.