
DigitalUrban is pleased to release its Panorama Viewer for Google Earth. The viewer has been created to be as easy to use as possible, all that is needed is a panorama – either from your local drive or via the web at sites such as Flickr – and a single change to the file name in Notepad.
We provide a step-by-step tutorial to create your first Google Earth panorama after the concept movie below which illustrates a series of London panoramas viewable in Google Earth.
To create your own panorama in Google Earth take the following steps:
Step 1
Download the Collada file from our server and save it to your hard drive (320k) – note due to issues with our server mime types it will download as PanoViewer.txt, rename the file to PanoViewer.dae. We will have this fixed asap..
Step 2
Locate your panorama and note down its name or web location, it should be a .jpg file.

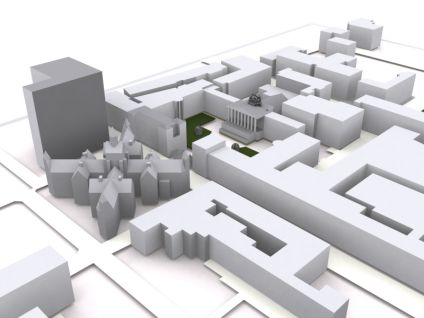
For this example we are using a High Dynamic Range panorama of the Swiss Re building in London. Our panorama is saved at 3000×1500 pixels, higher resolutions are possible its simply a trade off between file size and resolution.
You can download our panorama from here (675k)
Step 3
Open the Collada file ‘PanoViewer.dae’ in a a text editor, we use WordPad, and locate the following line:
init_from>
Change this to reflect your file name of http address, in our case we change it to:
init_from>
if the file was on the web we would use:
init_from>
Now save this file and open Google Earth.
Step 4
Flyinto the location of your panorama in Google Earth, in our case just above the Swiss Re building.

Now we simply need to open the file in Google Earth, you can do this in one of two ways, the simplest is to drag ‘PanoViewer.dae’ into Google Earth where it will automatically load. The second way is to go to ‘File Open’ and make sure you have ‘Files of Type – All files’ selected, now locate the .dae and select it to open.
 The panorama will open in Google Earth, as pictured above. We now need to move the panorama to the correct location, starting with changing its altitude.

Select the Altitude tab and move the viewer up to your desired amount, we use 28m by default. Now simply drag the panorama to the correct location by clicking and dragging on the centre cross and rotate by clicking on the small green square.
The panorama is now in place and ready to view or save as a .kmz and share. Navigation is best with the SpaceNavigator at the moment as the default mouse view in Google Earth does not allow the user to view around a fixed location, hopefully this will be changed in a later update.
Since posting the tutorial a few hours ago Frank Taylor from the Google Earth Blog has found a great work around for users of Google Earth that don’t have a SpaceNavigator. Once you have created the panorama you can add in multiple placemarks which are essentially viewpoints in the scene. To look around the sphere all you need do is click between the placemarks.
You can view the end result of Franks additional viewpoints here (.kmz file).
Let us know if you use the file and if you do a link back to the blog would be appreciated as it all helps spread the ideas…