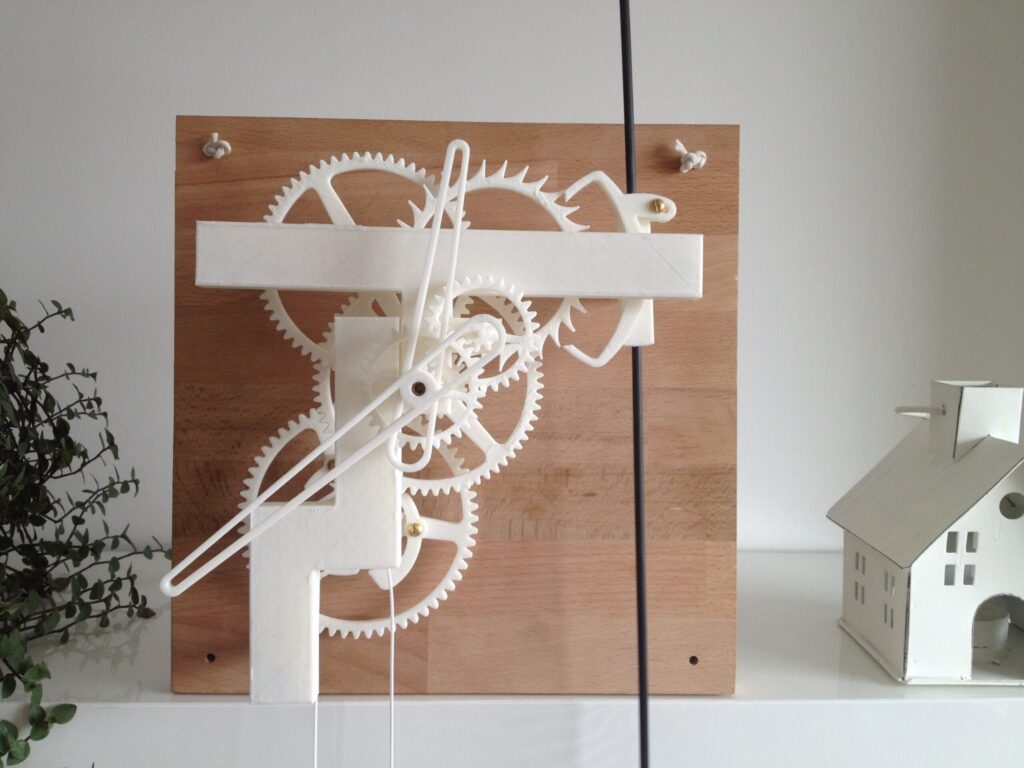
The rise in 3D printers and the move towards semi-consumer level models, such as MakerBot Replicator 2, opens up a wealth of opportunity to build everyday items. With a Replicator 2 in the corner of the office here at CASA, University College London, we thought we would try to print a weight powered 3D clock. There are a number of sites online that provide plans or kits for wooden clocks, often aimed at CNC type machines or simply scroll saw cutting out of the individual cogs. A key site is woodentimes.com, the clock we have printed is a modified version of the Septimus.

Replicator 2 Printing Cogs

3D Printed Parts

3D Printed Clock
Damned a 600kg weight?
oops typo – 600g 🙂
Wow this is impressive. Great work. Will you be sharing the print file with the 3d printing community? I would love to attempt to print this for my living room.
The site woodentimes.com have dxf files – i cant upload them due to copyright but i have put a post on thingiverse with some details. The only main modification was to the main front so it would fit on the printer bed.
Could you possibly link me to your files on Thingiverse? This is an incredible model. It states here that the files were modified before printing. Even if I was to purchase their files from the website, I wouldn’t have the first clue about how to modify them into a working clock (I’m fairly new to the 3D printing scene) The only clocks I seem to be able to find on Thingiverse are theoretical, work in progress models whereas this is amazing and functional.
where did you get the object files?
As above – they were dxf/sketchup files on woodentimes.com 🙂
How about sharing the 3D files for others to print and try?
The plans are from DXF files from woodentimes.com (good value) – if you go there you can purchase them but i am unable to put them online as they are obviously copyright…