Non-fungible tokens (NFTs) make it technically possible for digital assets to be owned and traded, introducing the concept of scarcity in the digital realm for the first time. Resulting from this technical development, this paper asks the question, do they provide an opportunity for fundraising for galleries, libraries, archives and museums (GLAM), by selling ownership of digital copies of their collections? Although NFTs in their current format were first invented in 2017 as a means for game players to trade virtual goods, they reached the mainstream in 2021, when the auction house Christie’s held their first-ever sale exclusively for an NFT of a digital image, that was eventually sold for a record 69 million USD. The potential of NFTs to generate significant revenue for artists and museums by selling effectively a cryptographically signed copy of a digital image (similar to real-world limited editions, which are signed and numbered copies of a given artwork), has sparked the interest of the financially deprived museum and heritage sector with world-renowned institutions such as the Uffizi Gallery and the Hermitage Museum, having already employed NFTs in order to raise funds. Concerns surrounding the environmental impact of blockchain technology and the rise of malicious projects, exploiting previously digitised heritage content made available through OpenGLAM licensing, have attracted criticism over the speculative use of the technology. In this paper, we present the current state of affairs in relation to NFTs and the cultural heritage sector, identifying challenges, whilst highlighting opportunities that they create for revenue generation, in order to help address the ever-increasing financial challenges of galleries and museums.
You can read the paper via Valeonti F, Bikakis A, Terras M, Speed C, Hudson-Smith A, Chalkias K. Crypto Collectibles, Museum Funding and OpenGLAM: Challenges, Opportunities and the Potential of Non-Fungible Tokens (NFTs). Applied Sciences. 2021; 11(21):9931. https://doi.org/10.3390/app11219931
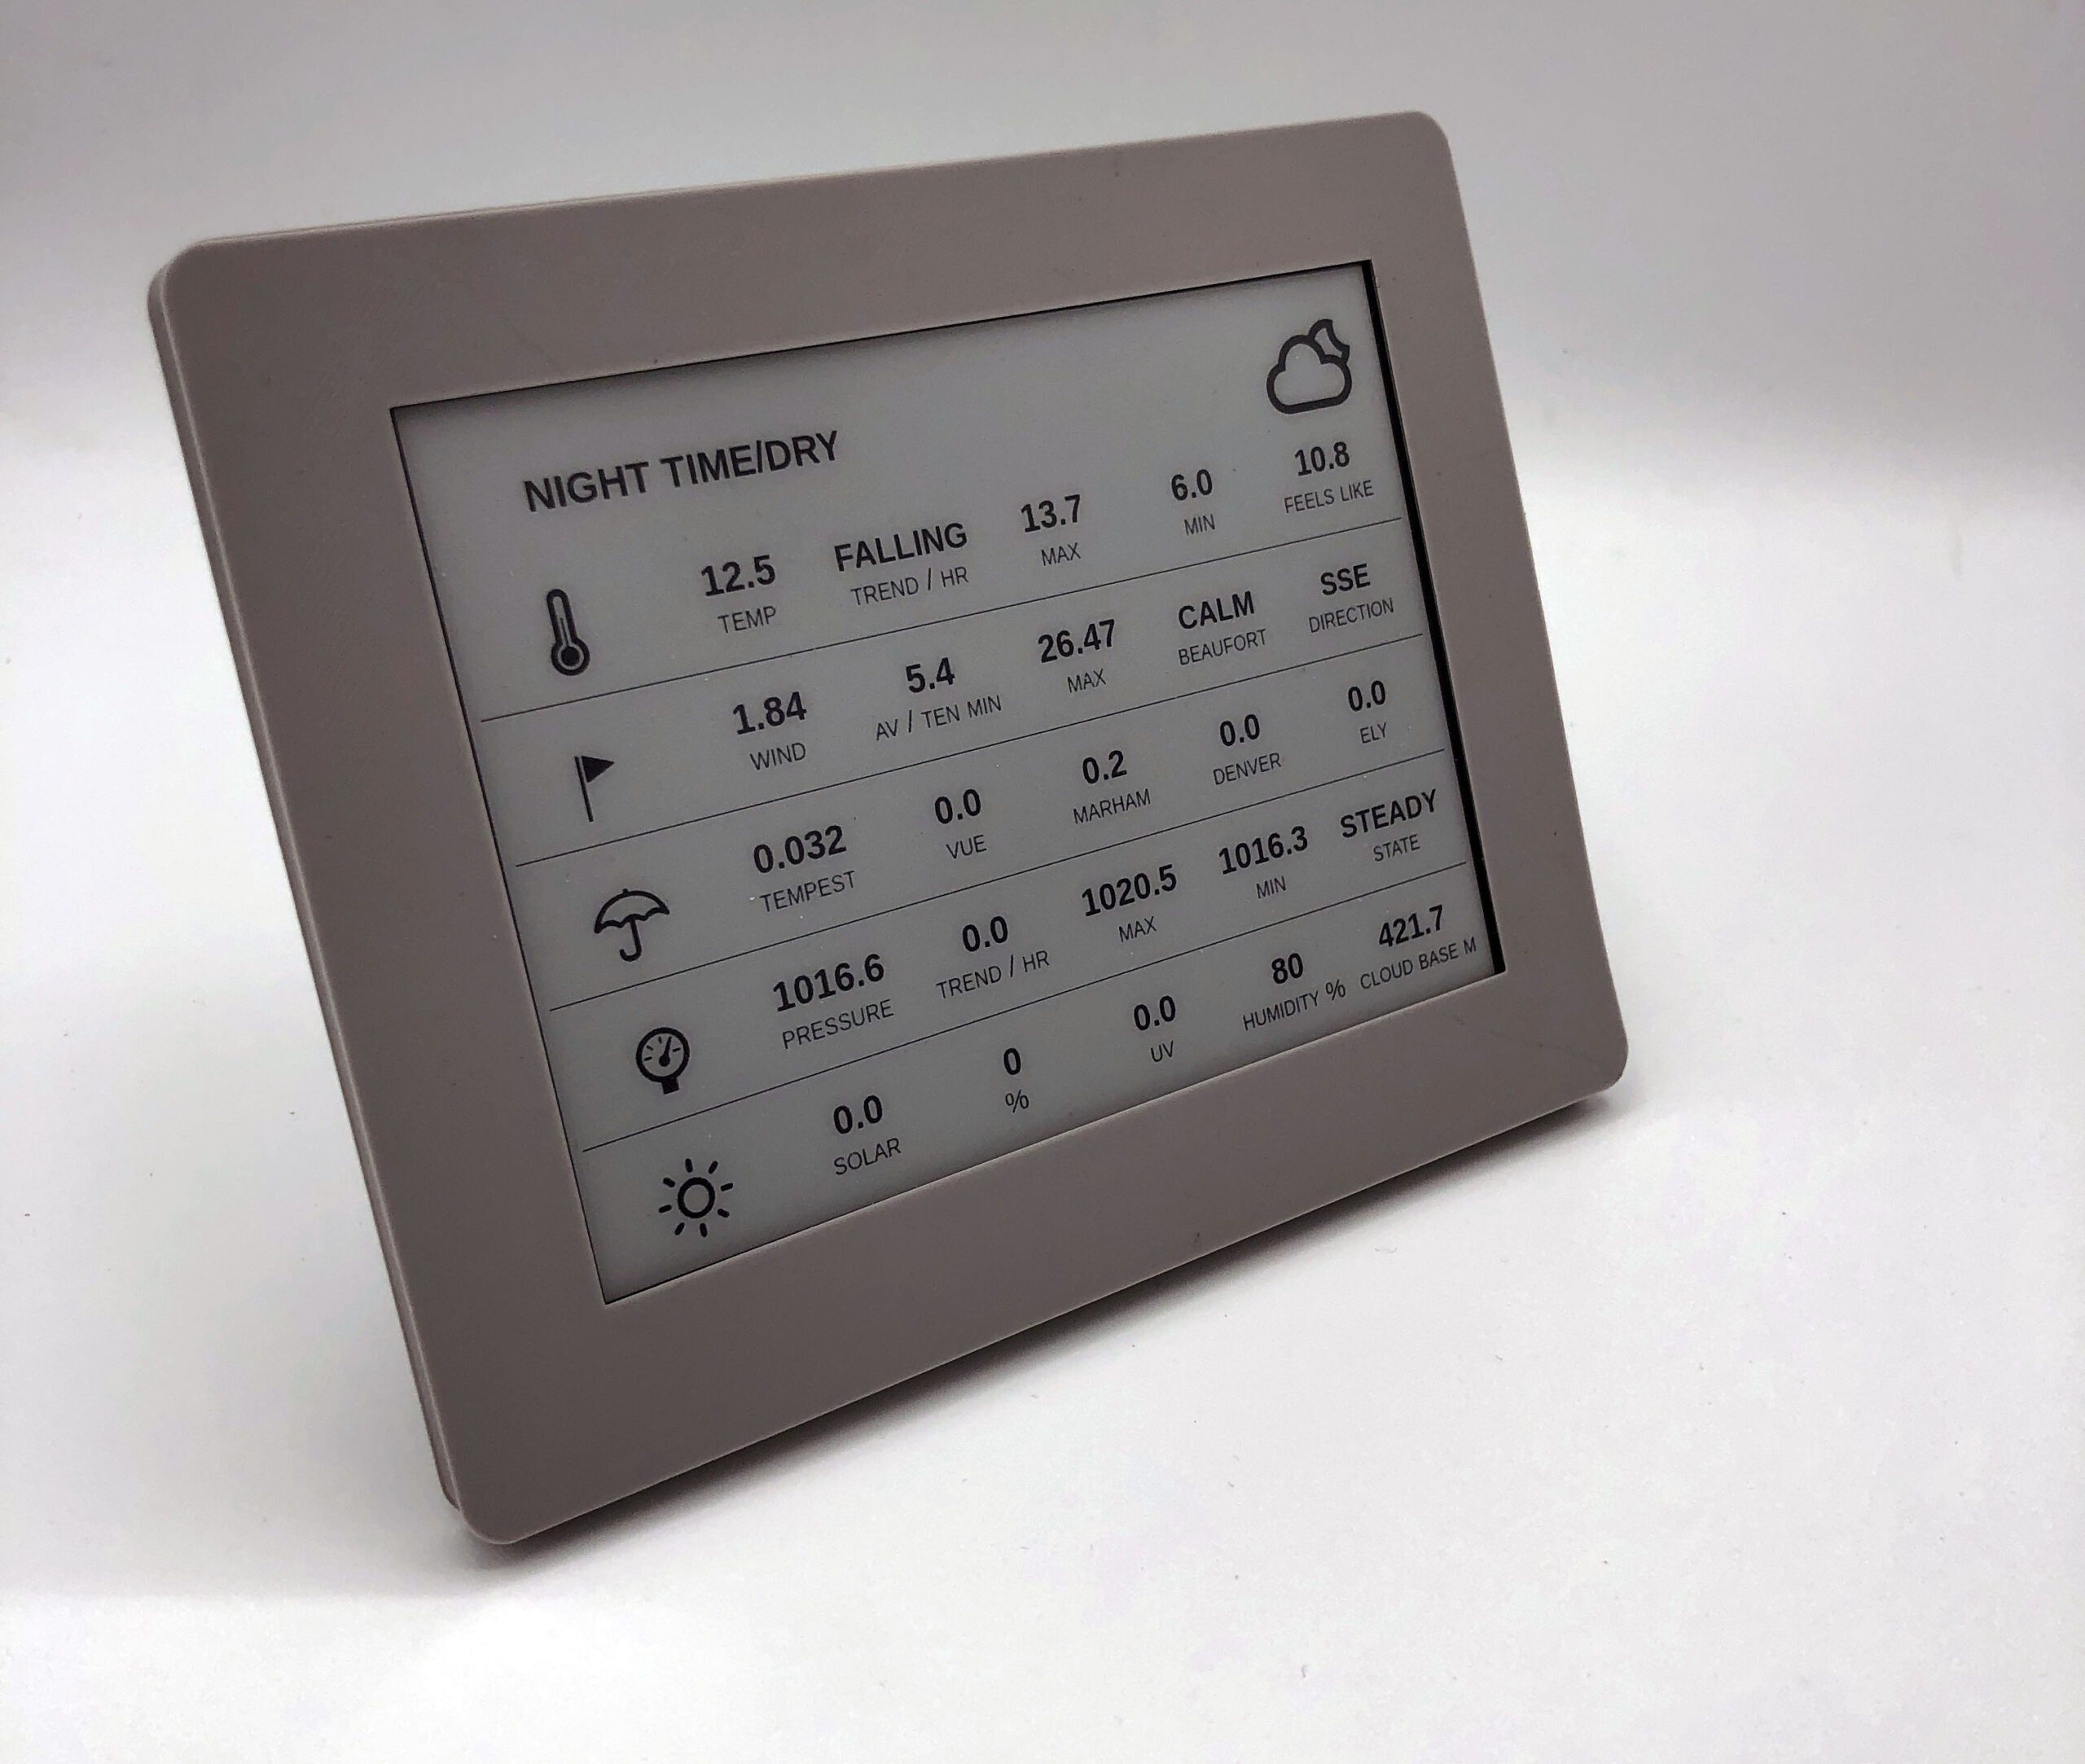
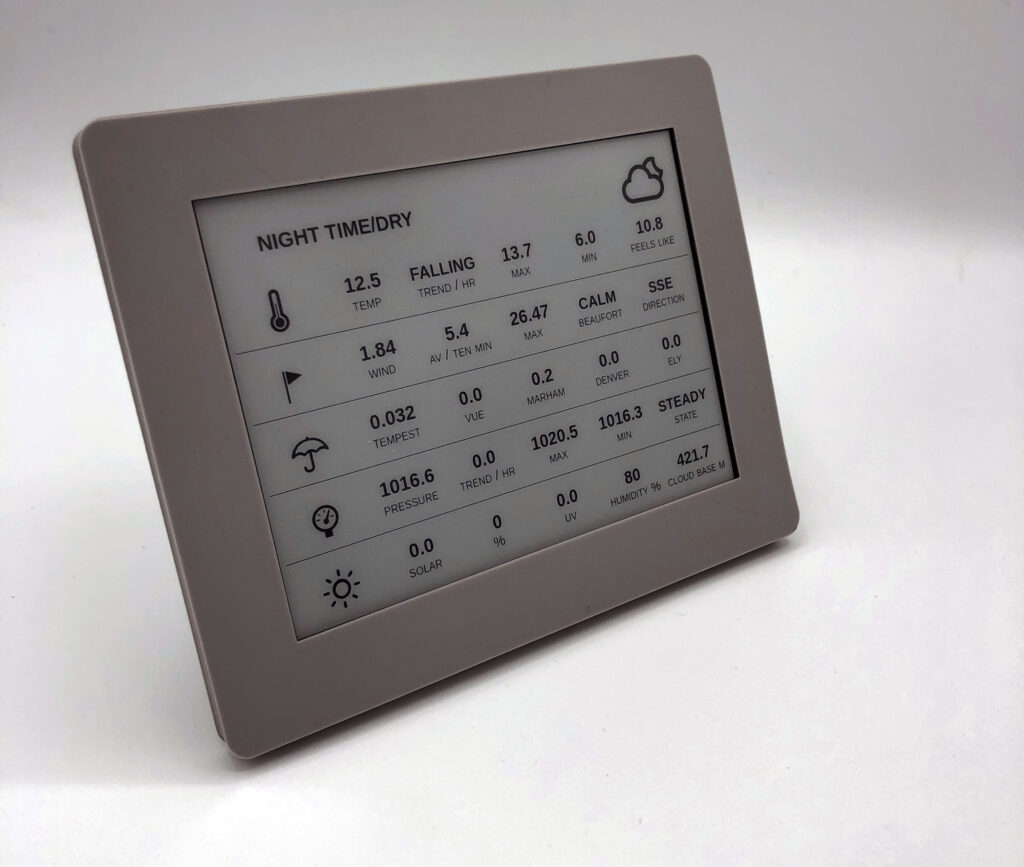
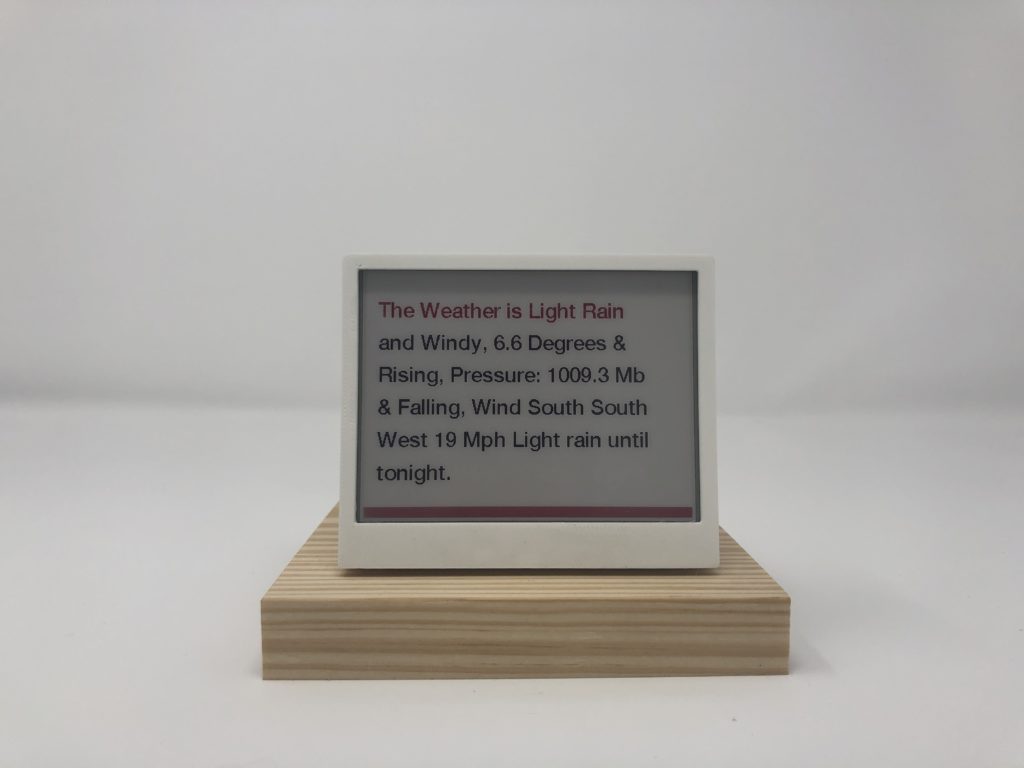
Sometimes there is a need to step back and do things as simply as possible. EInk / Epaper screens are amazing, they carrying on showing an image with zero power and the screens have a certain clarity that is hard to achieve with more standard LED offerings. The more difficult part is getting content onto them, especially content that is well designed and fits the screen.
Puppeteer can do many things but for our use it allows the Pi to open a webpage, take a screengrab, save it as an image and then close. This image can subsequently be served via Node Express and viewed on an eInk screen.
To make the most of eInk/epaper screens you generally grab some information using a microcontroller, such as a Node MCU or ESP32, send it to the screen and then power down. This means you can check for new information over a period of time, say, every 15 minutes, display it and then sleep, allowing your screen to be battery powered for weeks on end.
At the moment we are using the amazing InkPlate 6. The InkPlate 6 is built around a recycled Kindle Screen and has a built-in ESP32 controller, a lithium battery connecter/charger and perhaps, more importantly, an easy to understand library to display an image and then sleep. In the world of eInk screens, the importance of an easy to understand library really cannot be understated, some of them are notably complex. We have published the 3D printable case to Thingiverse so all you need is the InkPlate (or any other screen you want to display an image on), a script to load a webpage and some Node JS to grab the information you want to display.
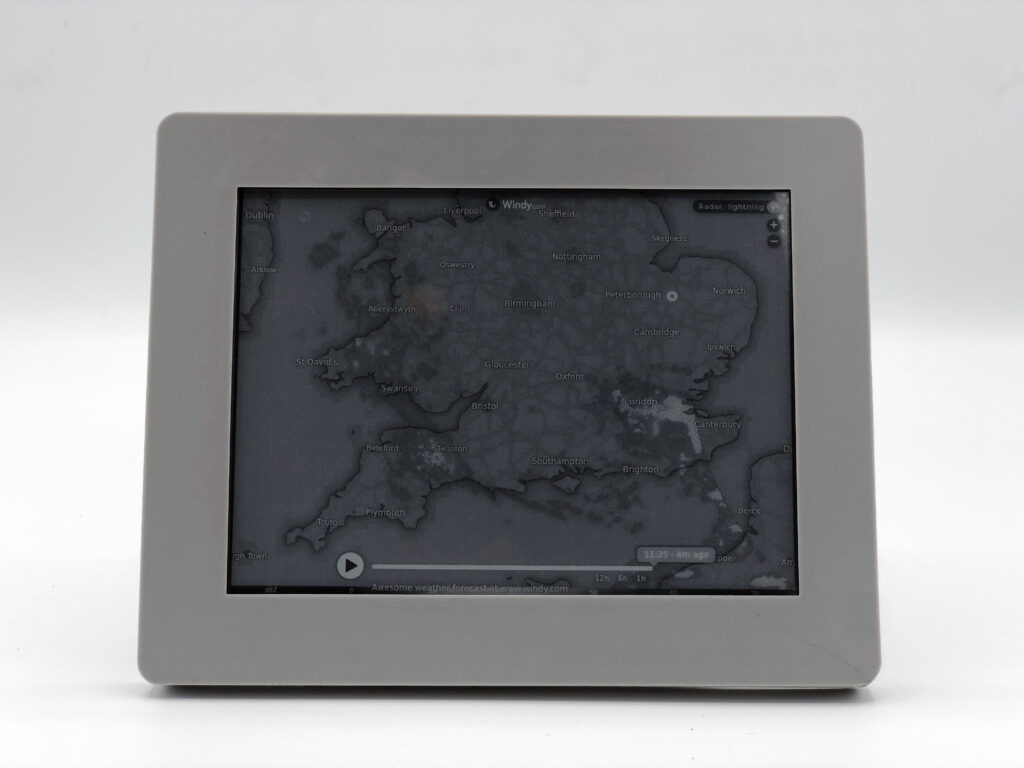
We are using 3 variations of the same script on our ePaper display, one to grab a webpage showing environmental information, a second decoding a weather forecast from the Met Office, another showing a Rainfall radar and we cycle these every 15 minutes with the environmental information showing twice in the hour.
The information can of course be any web page you want to display, from a news site, a social network feed, transport information or anything you want to show.
Ingredients
You will need a device capable of running Node JS, we are using a Raspberry Pi 4. We assume here that you have a Pi up and running with the full operating system installed, if not then take a look at the main Pi site for details on how to set up. If you need any help then drop us a line in the comments and we can expand this section as needs be.
Optional: An eInk screen and controller – we are using the InkPlate 6 and our code to load the image once grabbed is now available on GitHub. There are a number of eInk/epaper screens, the most popular ones being made by WaveShare. These will also work if you edit the example code from the libraries that allow the display of online images. Of course, you may simply want to have an automated screengrab of a webpage. Such things are useful in Unity3D to make Augmented Reality displays, for example.
Installing Node JS
The first part is to install Node.JS, thankfully Node is quick and easy to install – in your terminal enter:
The 15.10.0 represent the current version as of February 2021, change this number to the latest version as needs be – you can find out the current release via the main Node JS site. You have now made your Pi aware of where to find Node.
The next step is to install it:
sudo apt install nodejs
To check all is in place you can run:
node -v
This will tell you the version of Node you are running. You have installed Node, well done, now for the Puppeteer library.
Installing and Configuring Puppeteer
Puppeteer is a library for Node.js that allows for the control of the Chrome browser in headerless mode (i.e. you dont see it happening). This allows you to open a web page, do something with it – in our case take a screenshot – and then close chrome, all via a simple script.
Installing Puppeteer is all via a single line in the terminal:
npm i puppeteer --save
Now you have Node.js and Puppeteer installed, all you need now is to create a script to tell Node what to do:
We like to start a new script in a new directory called ‘Scripts’ (although it can be anywhere).
So firstly create a new directory via the terminal:
mkdir Scripts
Now create your first empty script, we are going to call ours ‘webpage.js’:
sudo nano webpage.js
Below is the javascript to cut and paste into your new script:
const puppeteer = require('puppeteer');
async function timeout(ms) {
  return new Promise(resolve => setTimeout(resolve, ms));
}
(async () => {
let browser = await puppeteer.launch({
          headless: true,
          executablePath: '/usr/bin/chromium-browser',
//          args: ['--no-sandbox', '--disable-setuid-sandbox']
  });
  const page = await browser.newPage();
  await page.goto('http:YourWebPageURL');
// 5 second timeout: allows the page to fully render before taking the screenshot
  await timeout(5000);
  await page.setViewport({ width: 800, height: 600});
  await page.screenshot({path: '/home/pi/Scripts/eink.jpg'});
  await browser.close();
})();
The main parts to note above are the http: where you need to add in the webpage you want to capture and the width and height of the page. This should be changed according to the resolution of your screen, the InkPlate 6 runs at 800×600 resolution. The script opens the URL, waits 5 seconds for it to fully load and then saves a screenshot as a jpg to the location of your choice.
To run your script:
node webpage.js
The script should now run, load a webpage and save the image to your Pi.
If you are running your eInk display direct from your Pi (such as using a Waveshare screen) you can stop here and point your display to the new image. If however, you are using a screen elsewhere on your network you will need to host it, this is where Node Express comes in.
Installing Node Express
As with Node and Puppeteer installing is via a simple one line command:
npm install express --save
To start the server and host the image, you need another script. So the same as before, create a script, we called ours server.js:
sudo nano server.js
Cut and paste the following:
var express = require('express');
var app = express();
var path = require('path');
var public = path.join(__dirname, 'public');
// viewed at http://localhost:8080
app.get('/', function(req, res) {
    res.sendFile(path.join(public, 'index.html'));
});
app.use('/', express.static(public));
app.listen(8080);
The above script runs a server at http://localhost:8080 where you can install a welcome page (index.html) if you wish but more importantly you can serve static files, in our case our screen grab eink.jpg. Note that the folder address is ‘public’ this is where you will host your files.
In our first script we now want to edit the folder where our image is saved, so we can host it as soon as it is created, so simply edit the file, (again using sudo nano webpage.js) to include the ‘public’ directory -ie /home/pi/Scripts/public/eink.jpg
If you now go to either http://localhost:8080/eink.jpg on the host machine or your http://Your IP of the PI:8080/eink.jpg you should be able to view the jpg.
All that needs to be done now is to start the server when the Pi boots and to run the webpage script every set period of time. To load different webpages simply clone the webpage.js script but with a different URL to grab and run it at a different time, as mentioned, we run 4 scripts an hour via cron jobs.
Cron Jobs
The final part is to run the server at boot and the script every 15 minutes.
Firstly go to your root directory by typing:
cd:
Now we want to install a new Cron Job, or edit one we have already set up:
sudo crontab -e
At the end of the file that opens add the following lines:
Whenever the Pi reboots it will now start the server – via your server.js script and every 15 minutes run your webpage.js script to take an image of a webpage, which you can subsequently point your eInk screen to load.
It may feel like a number of hoops to jump through for a simple screengrab, but once running it opens up the wider world of Node.js and Puppeteer as well as the ability to use your eInk screen to display any webpage you want.
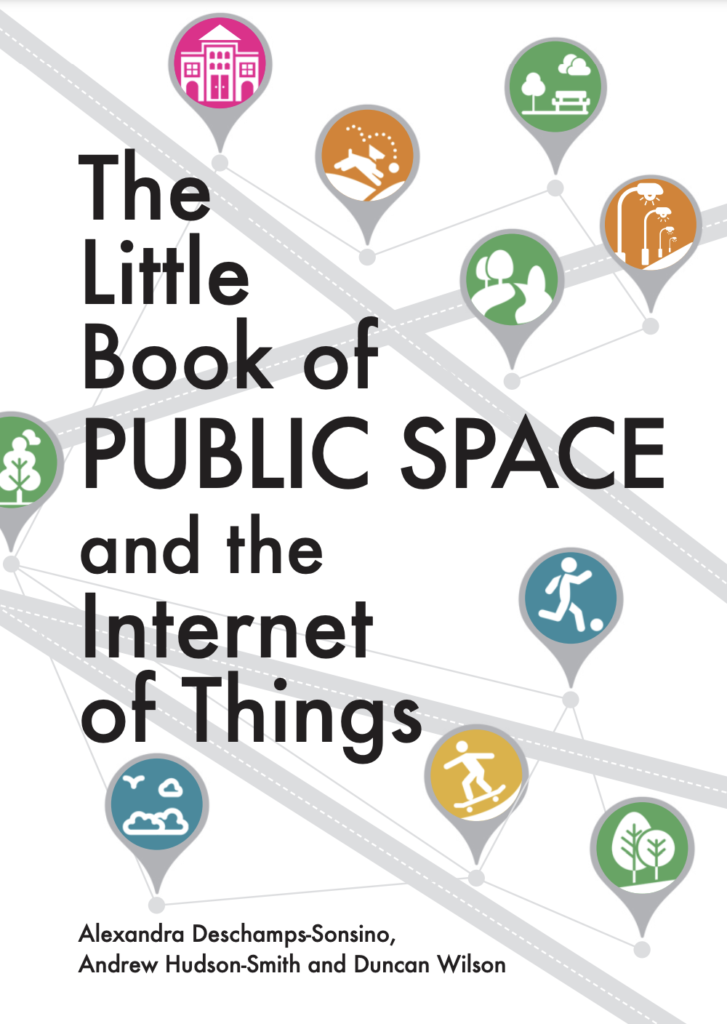
Our public spaces are changing, they are at the forefront of a technological revolution yet this is a revolution that often remains hidden from sight. Sensors are being installed and the ability to interact with objects in our spaces – from projects such as the PETRAS Talking Trees through to conversations with Lamp Posts or data interactions with local wildlife is changing our interactions both in and with these places and spaces.
Written with the brilliant Alex Deschamps-Sonsino, alongside Professor Andrew Hudson-Smith and Professor Duncan Wilson from the Connected Environments Team, the Little Book explores safety and security and moves on to maintenance. We then look at some of the issues affecting people and explore health, community building and culture while exploring the use of public space for play. After this, we explore conservation and culture, transport and signage, accessibility and then, finally, we discuss future trends.
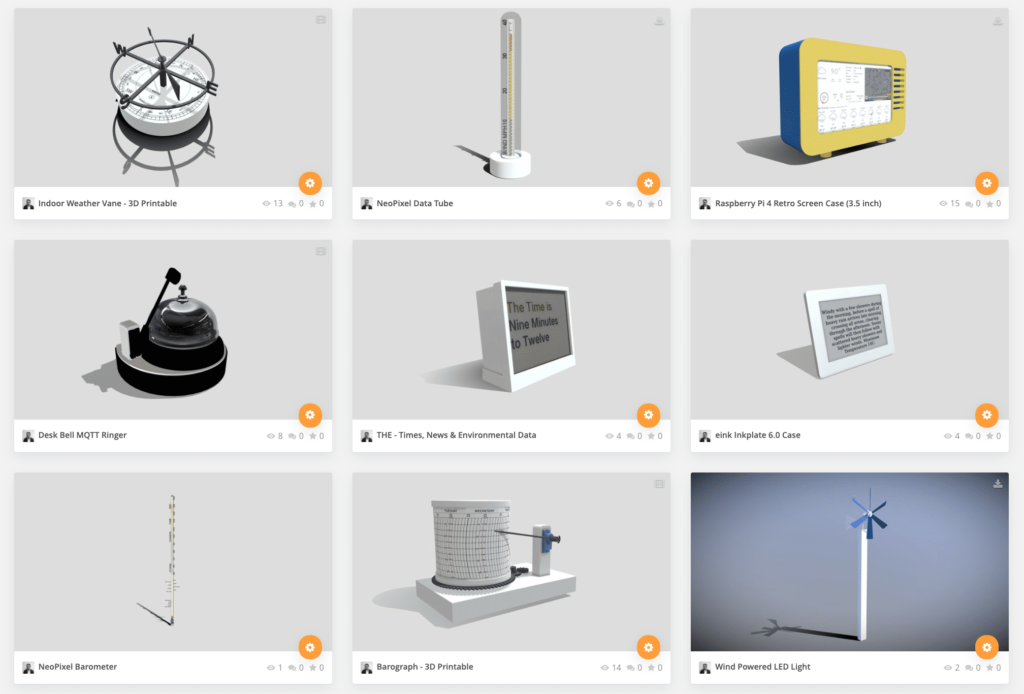
At The Connected Environments Lab, part of The Bartlett Centre for Advanced Spatial Analysis, here at University College London we are designing and building a series of IoT devices to communicate live data feeds. Using a mix of servo motors, neopixels, LEDs, speech systems, eink and sound we are exploring ways to monitor data within a home/office environment. These form part of a module exploring the ability to build and design devices that not only can be physically made but also exist and run with both Augmented and Virtual Reality.
The YouTube clip below details the collection so far (Spring 2021):
Each of these objects will be explored further and made available to print, insert into 3D worlds and view online. One such example is our ‘THE’ – Time, Headlines and Environmental Data.
SketchFab also allows models to be embed and viewed directly within a web browser – below is an example of our 3D Printed Barograph, using realtime data feeds combined with more traditional paper and ink to recreate the Barograph – click ‘Play’ to view the model in 3D.
We will be posting more about the Spring 2021 collection in the coming weeks. Its been a while since our last post over here on Digital Urban, it is good to be back.